If you want your nail polish or other applications to last long, careful preparation is required. This is especially true for acrylic or gel polish. Think of prepping as similar to applying adhesive on the wall. You need to clean the surface thoroughly for the backing to stick as long as possible. More importantly, nail prep helps prevent problems, such as lifting, marbling, or even infections. What do you need to do before a gel manicure?
Start with a Clean Slate
Remove any existing nail polish or art design to get your nails ready for the next application. Follow instructions on proper removal, especially with acrylics or gel manicures. At the minimum, use a cotton swab soaked in nail polish remover, or soak your nails in acetone for ten to fifteen minutes.
See also: Cloud February 300K Bitcoin Atmfranceschibicchieraitechcrunch
Trim and Shape
Trim your nails to the length you desire. Then, file the edges for a smoother finish. Make sure the nail file is not excessively coarse and file in one direction. Filing back and forth increases the risk of nail splitting. Whether doing it yourself or by a professional, trimming and shipping is an important part of nail prep.
Buff the Surface
This part of the process helps gel stick better to your nails. It removes the shine from the nail plate and gives it a slightly rough surface. For best results, use a mildly coarse buffer when buffing the surface of your nails. Similar to filing, buff in one direction and keep it to a minimum. The goal is to help the gel adhere correctly but not weaken the nails.
Push and Trim
The next step is to push and trim the cuticles so you don’t paint over them. Doing so can cause the polish to lift prematurely. Use a cuticle remover and gently push back the cuticles with a pusher or wooden stick. Be careful not to cause damage, as they serve as your nails’ protective barrier.
Soak and Cleanse
Soaking your nails in warm water removes grime and any residue from the products you use, such as cuticle remover. This process also softens the cuticles. In some instances, a dry manicure is preferred over a wet one. It’s a process of hydrating the cuticles without soaking them. This makes it easier to identify dry skin around the cuticle and fully remove it.
Enhance Nail Adhesion
Even after thorough cleansing and buffing, some oil and dust may remain on the nail plate. Use a dehydrator to remove any remaining dust or oil and to dehydrate the natural nail plate. Then, use a bond enhancer that will balance the pH levels and strengthen the adhesion of any nail product.
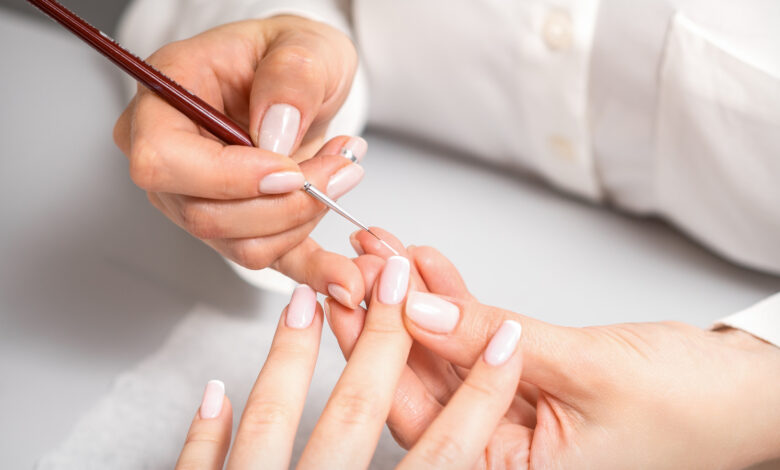
Apply a Base Coat
If you apply acrylics, you’ll need a nail primer to promote adhesion. Primers are available as acid-based, non-acid, or acid-free. With gel manicures, however, you’re going to need a base coat that will keep the polish gorgeous for a long time while keeping your natural nails healthy and preventing discolouration. It creates a barrier that protects the natural nail plate and prevents the chemicals in the gel from bleeding into it. Experts suggest using a base coat and gel from the same brand as their design to work with each other.
Nail prep is non-negotiable whether you’re painting your nails yourself or with the help of a professional. By starting with a clean slate down to applying a base coat, your gel manicure is guaranteed to last long. Once your nails are prepped and ready, follow the step-by-step guide to a long-lasting gel manicure.